Week 2 Guest Room Refresh
For week 2 I tackled the board and batten wall, the DIY picture ledge and adding the trim around the window (I still have to paint it this week). It was a busy week! The guest room/office is finally coming together and my vision for it is starting to take form. Below are the four steps I took, which can also be viewed in my Instagram Highlight reel @burnettbungalow. I will start with what I did for the board and batten walls.
1.) Board and Batten walls
The first step was figuring out the pattern/design that we wanted to use. There are so many different options out there, we chose something a little more simple since we were going to be adding a picture ledge and we wanted it to stand out. I showed George how far apart I wanted the boards and then he had to do some math to figure out the exact length. Make sure that they will also be avoiding any outlets. Below is what we used for the walls, we got it at Home Depot.

Once the measurements were set, we cut a spacer that we used for spacing each board, so it was the exact same width each time and made it easy to quickly nail up without measuring. I am linking the nail gun we used, it is amazing! When cutting the boards, we cut the bottom at an angle, since we have baseboards. Once the boards are up you caulk the nail holes and sand them down once they are dry. Last, you paint, we used Dunn Edwards Back Bay for our paint color.

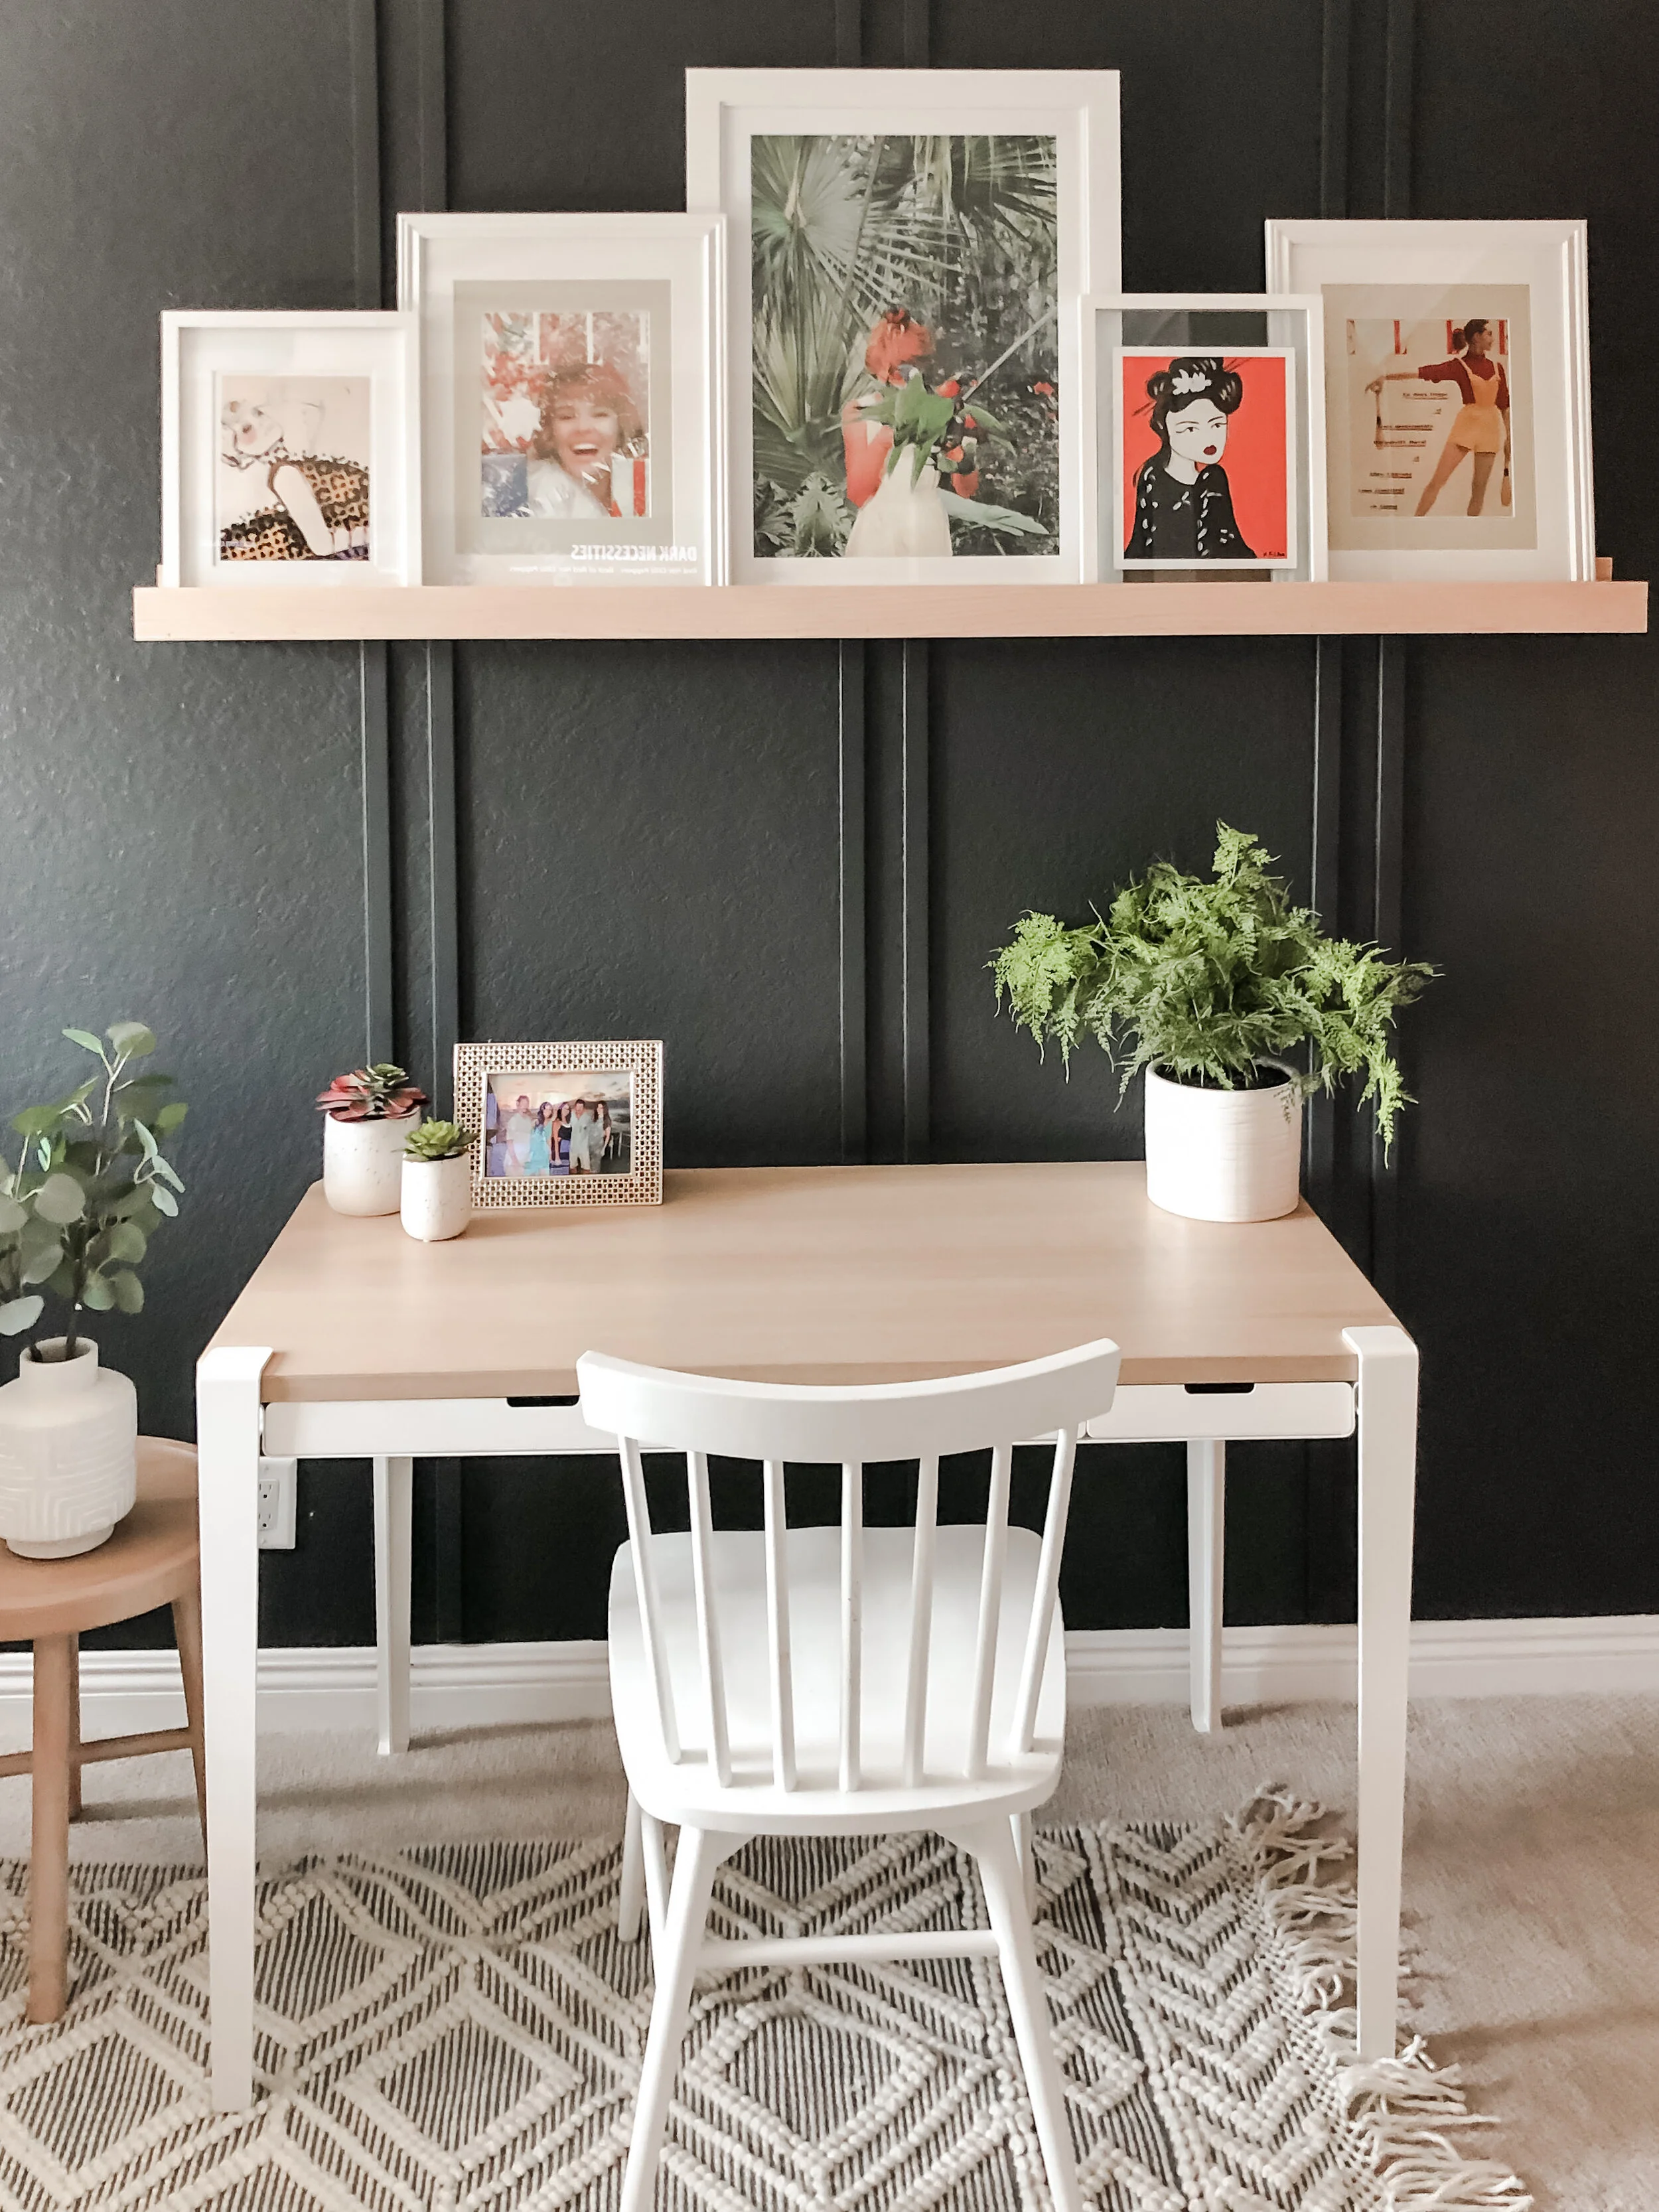
2.) DIY Picture Ledge
Next up I wanted a picture ledge. Since we couldn’t find one the exact length we wanted, which was six feet, we decided to quickly make one. We got three pieces of wood for the ledge all measuring six feet. We put up the ledge where we wanted it on the wall and then marked where the board and battan was. We then cut around those marks so that when we put the ledge up it would be flat against the wall. First we glued the pieces on with wood glue, then we nailed them on. I didn’t paint the picture ledge because I wanted a light, raw wood look.

3.) Add the Art
Last, I added the art that I wanted. It was all art I already had, I just needed to decide how I wanted situated on the ledge. The thing I LOVE about picture ledges are that they can be switched around, or the art switched out very easily, causing an instant change in the room. The art here is from ArtCrate, which is an amazing company! They work with what you already have and do mock ups for you. Two of the pieces were vintage magazine covers that I got in Paris at a flea market, so I wanted to keep those pieces for sentimental purposes. ArtCrate, worked around those pieces and sent different mock ups of different art.

4.) Adding Trim
Finally, a quick way to make a window look nicer is to add trim around the window. I wanted a thin trim and I was going to paint it the same color as the accent wall. Cut the trim down, caulk it and paint it, super quick and easy! I still need to paint it so stay tuned for week three )
That’s all for this week, next up is painting the trim, adding the mirror and the lights!
Cheers,
Janelle